If you’re a teacher who wants to bring more host gimkit interactivity to lessons, or a team leader who wants to gamify training to make it more interactive and engaging, hosting a Gimkit game for your students or employees looking to make lessons more interactive or gamify training will change the way your employees learn. This guide will help you understand how to properly host a host gimkit game.
What is Host Gimkit?
Host gimkit — Gamified quiz-based tool to earn in-game currency for answering questions correctly. This currency is spent on power-ups, multipliers and other things to help them score better. However, Gimkit spices up the competition unlike any other quiz game, adding strategy.
Why Host Gimkit Game?
There are some benefits to when you host a host gimkit:
Engagement: Gamification keeps players engaged and curious.
Collaborative skills: Team-based modes promote cooperative learning.
Retention Choose your own adventure strengthens the retention of information.
Why You Should Play: Learning is fun, not work.
How to Host Gimkit Game
Step 1: Create an Account
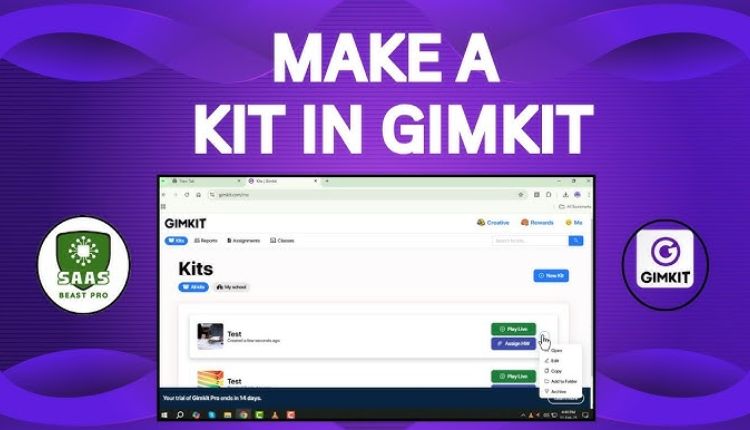
Gimkit is a fun interactive learning system and to host Gimkit game, you first need to register on Gimkit. com. You can create an account, just by email, or by a google account.
The process begins with Step 1: Select/Create a Kit
In Gimkit, a “kit” is a set of questions. You can either:
Select pre-made kits from host gimkit library.
I tried creating my own kit and adding questions that were specific to my needs.
Coming soon: Import questions from Quizlet and other platforms.
Step 3: Select a Game Mode
Gimkit has different game modes that each have their own mechanics. Some popular options include:
Classic: Players compete against each other, answering host gimkit questions to win money.
Team Mode: Players are assigned to teams, encouraging cooperation between players.
Trust No One: An Among Why style, mystery-based mode.
Infinity Mode — A limitless game mode where players host gimkit go on forever.
Select a game mode that fits your goals (competition, teamwork, long-term engagement).
Step 4: Adjust game settings
Once a mode is selected, there are multiple settings you can change:
Set a duration: Give the game a specified time duration.
Power-Ups: Turn on or off boosts within the game.
Visibility on Leaderboard: Choose whether you want the scores to be updated live.
Join with A Code: Decide if a code is required to join.
Step 5: Invite Players
Gimkit gives players a specific game code to enter in order to play. Display the code for your audience to see, whether through a projector, on a whiteboard, or through a messaging platform.
Step 6: Start the Game
Start the game and keep an eye on how everyone host gimkit is doing once all players have joined Have some fun encouraging people to join and reminding players about power-ups and tactics they can employ.
Step 7: Analyze Results and Retraction
At the end of the game, check the leaderboard and performance stats. This is an ideal opportunity to go over the correct answers and key concepts.
The Perfect Way to Utilize the Potential of Full Engagement
Encourage Participation: Provide small prizes or bonus points to achievers.
Change Up Game Modes: I like to try a different mode every session just to keep things fresh.
Custom Questions: Personalize questions to your lesson or training material.
Inspire Team PlayAnd promote camaraderie through team challenges
Review the Game Data: Track reports after the game to reveal areas of knowledge.
Wrapping It Up
How to host gimkit Game to Make Learning Fun? With some effort and the right engagement techniques, you can deliver an incredible moment to your attendees. So, configure your game, invite your players, and let the fun (and learning) begin!